Showing posts with label animation. Show all posts

Friday, September 4, 2015

Pixel Effect Review


Yes. I am going to critically analyze the movie Pixels, directed by Chris Columbus. This movie is mostly live action, but it relies a lot on 3D effects and other animation. Without that, Pixels would not have worked out the way it did. They used the pixel aspect a lot, meaning they made things pixelated like an 80's video game would.

I would like to point out the application of the pixelation to real life people and objects. In the beginning an army base is attacked, they are shot and the building pixelates and falls into little glowing boxes that are in fact animated. 
The second time they used this was when scientists in the lab were looking at one of the pixels to see what it was like, and what they could use to destroy it or break it up. They use light guns, which are also animated. 
In the scene where they were fighting Pac Man, they used this effect multiple times. The creator of Pac Man went up to the alien Pac Man and reached out to him, but Pac Man bit him, and his arm pixelated like they did with objects in the past, which was probably very complicated. During the same sequence, Pac Man is destroying the city like seen here, causing more pixels.                                                                              Multiple times in the movie, the aliens abduct people, and in the abduction guess what? They turn into pixels, and reformed inside the ship.           The animation of the movie was very good, and, disregard all the acting and plot holes, I would give it an 8/10. There were minor glitches a trained eye could notice, but nothing causing too much problems. It was just pretty mediocre.

Thursday, March 12, 2015

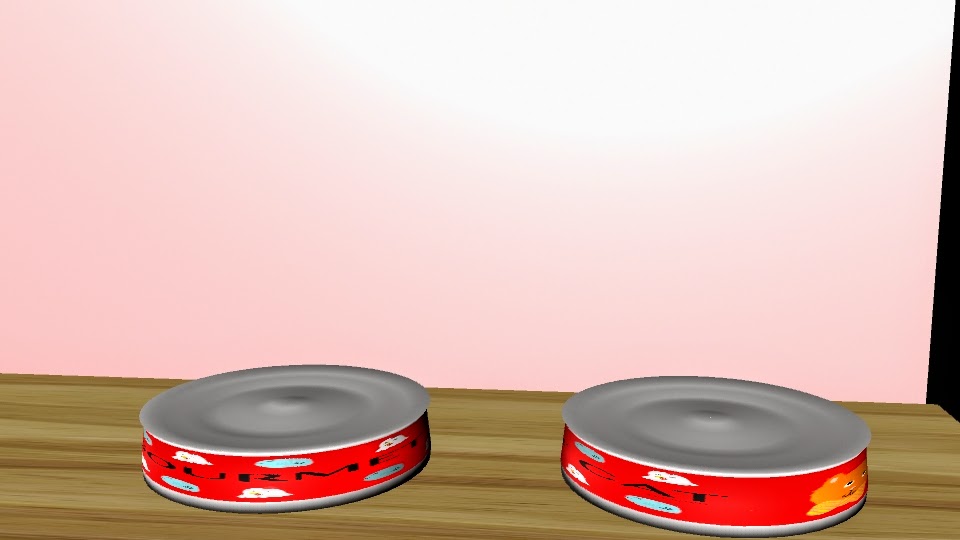
Gourmet cat (food)


ABOUT

In this project we had to make a container for a product. I went with cat food in a can. I spent the most time on my label, and I really like it. Being gone for about a week, I missed a lot of what we were doing, but I caught on quick. I made the can first, a cylinder. I had to expand the sides of it to get the right shape. I used extrude to make the indents in the top and bottom of the can. For the label I drew all the pictures and logo, and used a pre-installed font for the title. I grabbed a bar code off the internet.


Thursday, February 5, 2015

Let it Snow :D

Snowing.
       This is our snowflake project. We started with the draw polygons tool. We drew a weird shape, then mirrored it. We then combine and mirror-rotated that six times to get a snowflake. Once we had at least six done, we put them all into one file, and extruded them. We smoothed them so they would look more like snow. Then we applied textures to them. I used a seamless ice texture. Next we had to make the wall with a window. We made a plane then added divisions, and extruded a few. From that, we intruded a few, and applied a semi-transparent texture. We imported the scene with the complete snowflakes, and made it look like they were falling. When I tried to import the image sequence to after effects, the background was red- the default background for after effects. I went back into Maya and added a plane in back of the snowflakes, coloring it a dark blue like it was night. Then I re-rendered and put it back into after effects. Problem solved!

MAYA


Polything


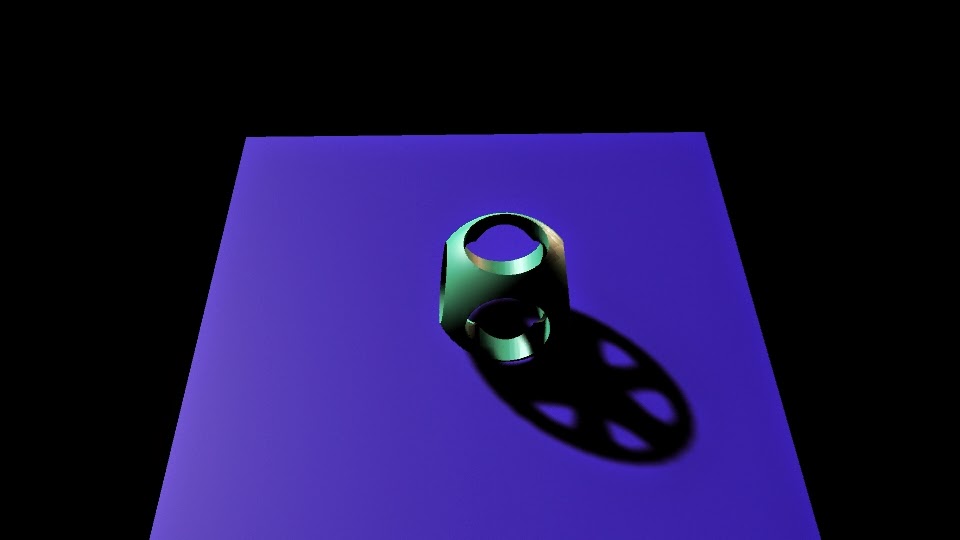
This is the polishing. With this project, we practiced booleans, creating holes in the rounded cube. We also worked with lights and shadows. First, we made a cube, and rounded its edges. Then we made two cylinders and booleaned them out so that it had holes it it. We made a plane on the ground. Then we added a subject light at an angle.

Revolve Cup


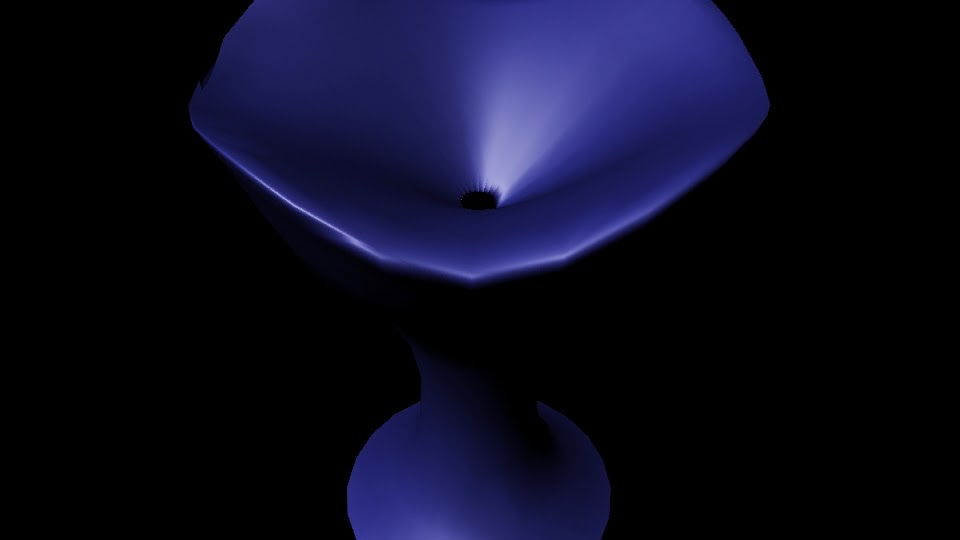
In this project we used the polygon creator, and edited vertices and NURBS. We started with the create nurb tool. Then we created the cup and applied a texture, then added lights.


Bounce


We animated with maya in this project. We had to use timing to see when the balls would bounce up and down; we started with a video of each ball bouncing. Then we made the two planes, and three balls of different sizes. We added the textures and pulled everything together. We rendered out and pulled them into aftereffects to render the movie.

Hammer and Nail

In this project we had to make a hammer and nail. We used extrude and vertex editing. We starred with a single rectangular prism. We extruded the front and back of the head to make it look more like a hammer. On the back we edited vertices to make it look real. We applied textures and added a light, then rendered the image.


Ice Cream  


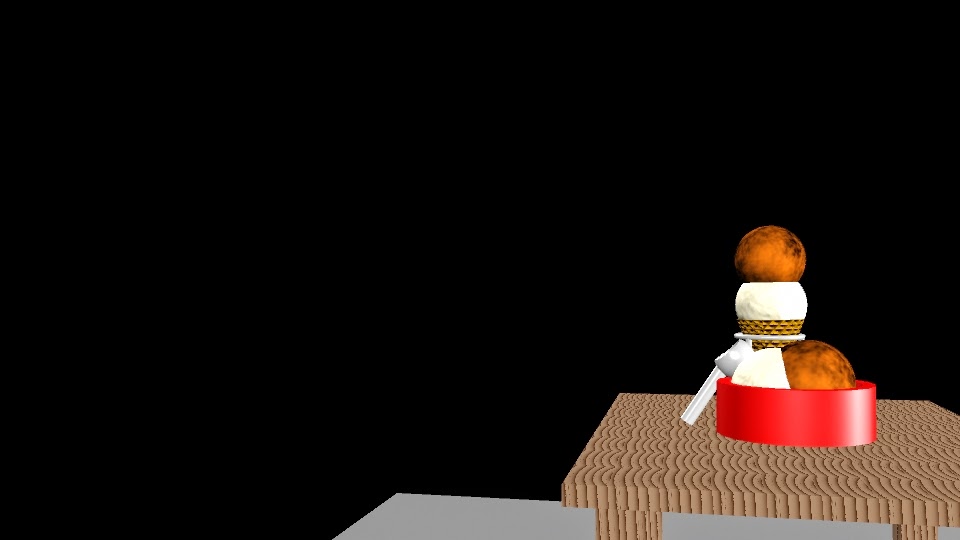
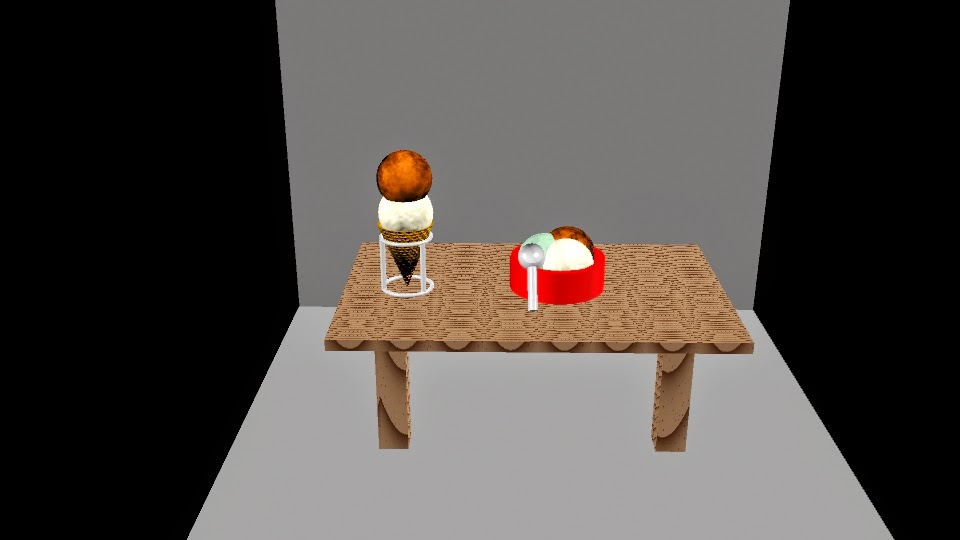
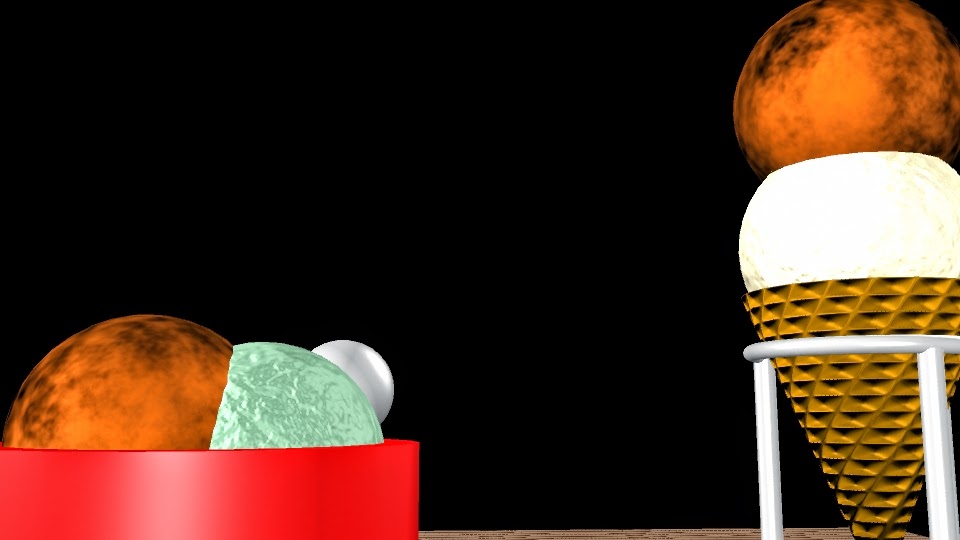
We made Ice cream, a cone and its holder, a bowl, a scoop, and a table. we used a lot of textures and lighting. We had to use about three different types of textures. We started with just the table, but then continued from there. The bowl is a cylinder with boolean difference. The scoop is a cylinder and a sphere with boolean difference. The cone is a cone with boolean difference. The ice cream scoops are all spheres. The holder is two rings, and three cylinders. The table is four rectangular prisms. We had to make two planes as the back ground. The textures include wood for the table, cloud for the ice cream, a simple phong for the holder and scoop, and a lambert for the bowl


Pen


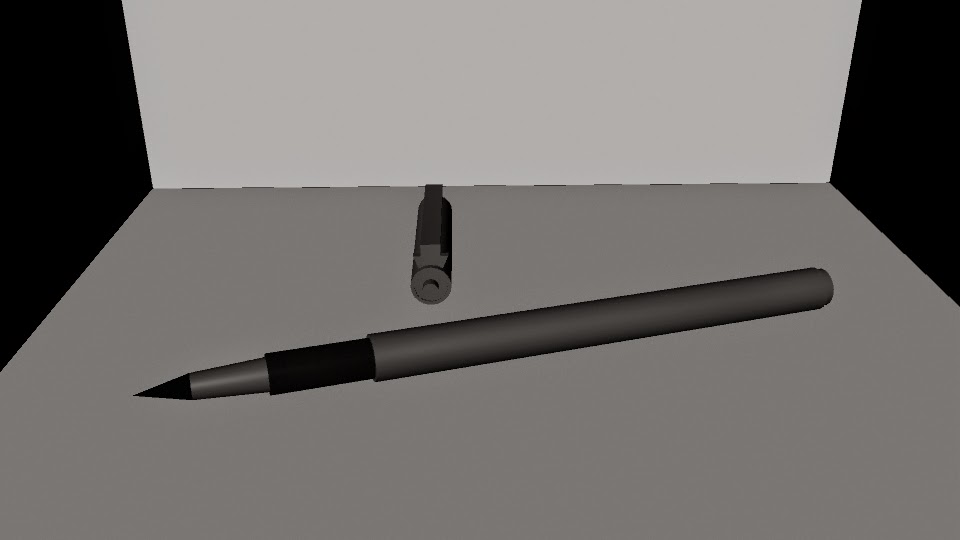
For our final we had to model a pen or pencil. I picked my felt lining pen. We used a lot of combining in this. First, we started with a cylinder. Then we added onto it with each shape of the pen. I used three cylinders, a cone, and a rectangular prism. The hardest part was the cap, because of the clip. 

Sprinkle Shaker

We had to model out a salt shaker (or another type of dispenser) in this. A lot of it was editing vertices and sections of the polygon- aka lofting. I made a sprinkle shaker. We started with a circle curve. We selected four of the vertices and pulled them in a little. After that we made a few more of the curves, scaling each differently. Then we made the cap. It was a half sphere. We had to difference cylinders from it for the holes. After that was done We took the curve circles and lofted them. Then we took that polygon it created and duplicated it, scaling the second one down. The first one has a semi-transparent texture to resemble glass. The second one has a sprinkle texture. The cap has a phong grey.

Monday, December 8, 2014

I Scream for Ice Cream!!!


In this assignment we had to use the 3d modeling platform Maya to make ice cream. The elements needed were A cone with two scoops of ice cream and the stand, a bowl with three scoops of ice cream, an ice cream scoop, a table, and two planes to make look like a wall. The hardest part, in my opinion, was either making the scoop or applying the wood texture to the table. The scoop was hard to align all together, and make look a decent size. The table gave me the most difficult time. The texture had so many components that it was hard getting it to look perfect. I finally settled with what I have now. In the future that is the first thing I'd fix.


Thursday, November 6, 2014

Animation Story


This is my original character design. I used basic designs, because I wanted to go more in depth with them once I pulled them up to the computer. I endued up using the same shirt for everyone, because the other two were weird looking.


This is my photoshop character design. I had a lot of fun doing this. Honestly I spent the majority of my time on it. I pulled some designs from my sketch books for their shirts. One problem I ran into was when I tried to save the file at the end of an hour, and photoshop ran into an error of some kind. All I had to do was rename the file to fix it.  Following this photo is my guitar and drum designs. I hand drew the drums, but for the guitar I used a photo to draw it. The main problem with the guitar was formatting the strings & such to look realistic. I think I did pretty well.


This is my finished animation. The hardest part about this was making it look like they were practicing. If I go back through I will defiantly add sound, and fix up walk cycles. I had trouble with they cycles at first, because pins kept going places I didn't want.


Wednesday, October 1, 2014

Multi-plane

This is my multi-plane animation. I learned how to move the layers apropriatly to different distances. I think that the back layers move somewhat fast, and that is something I will fix if I ever get time. I enjoyed this project a lot.

Friday, September 12, 2014

Character Walk

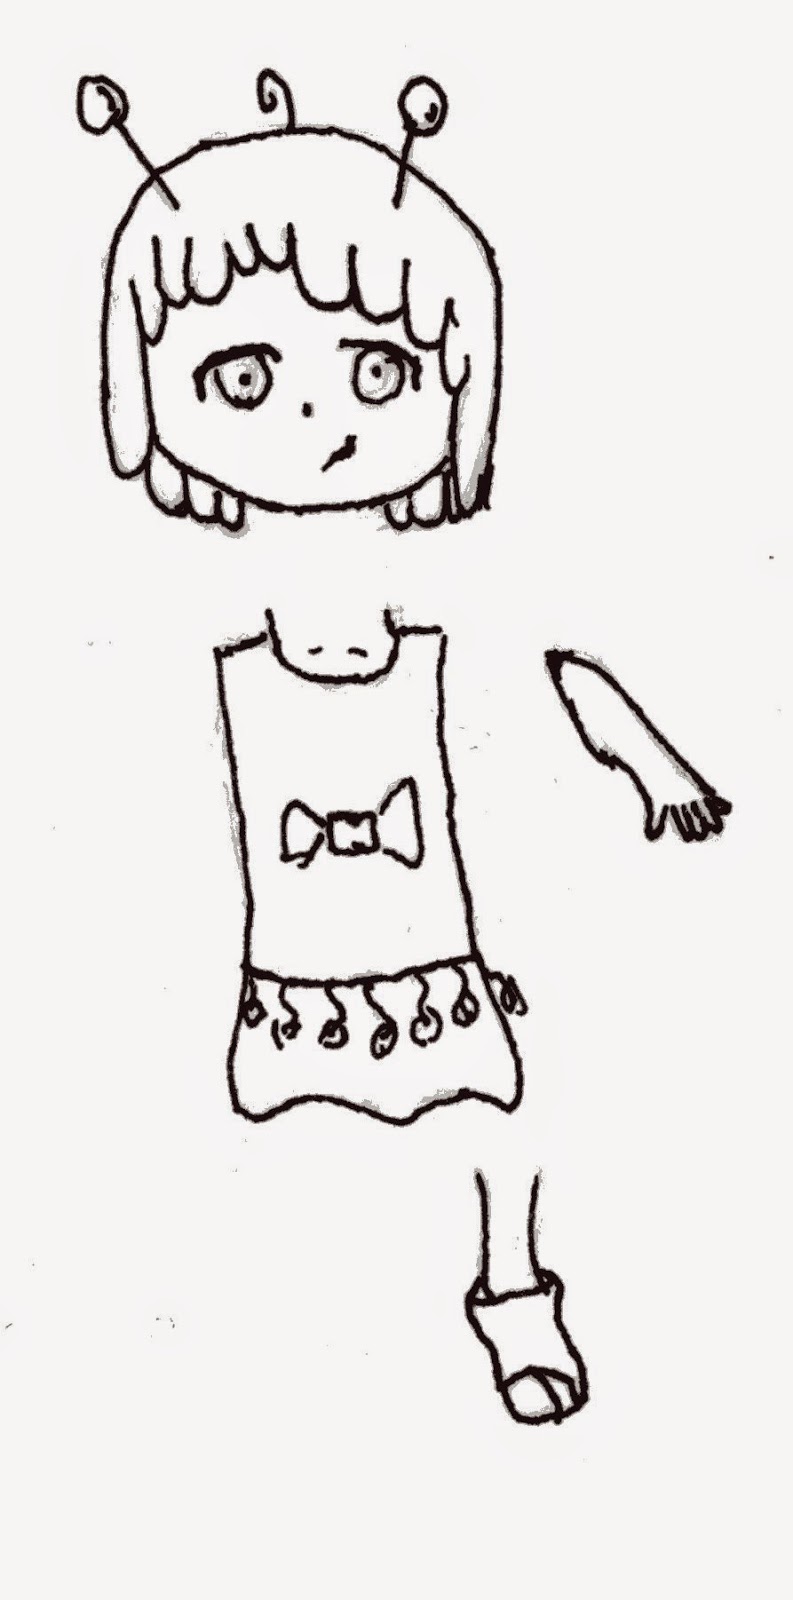
This is the character I used for my character animation. A lot of editing was done to her in photo shop. She is an alien version of myself. I designed her to be a simple character, that doesn't stand out too much. 
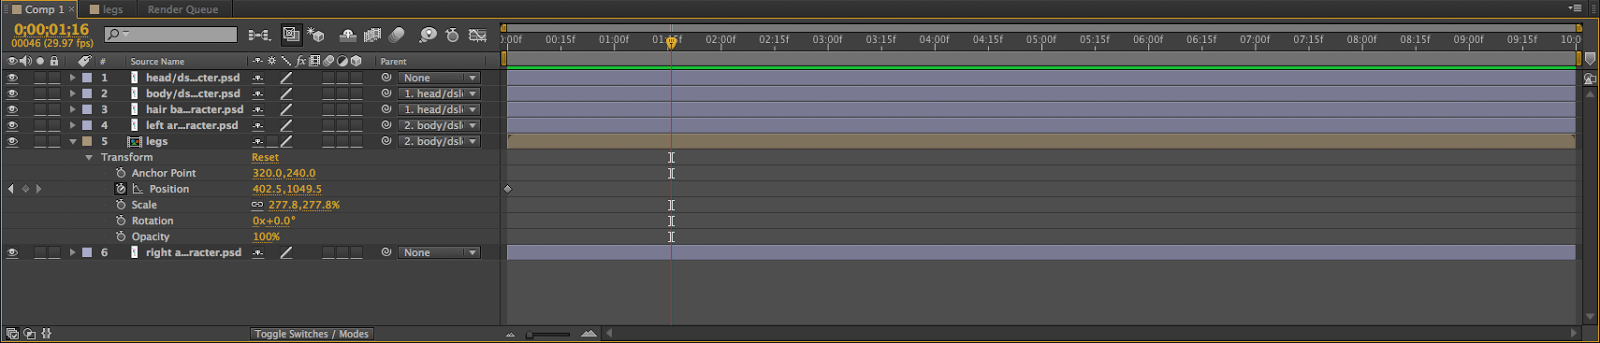
Here is my animation time line. My main issue was keeping the legs from popping out of her body, i.e; staying under the skirt. Then I had to put that animation in the new one, and connect her legs and body. I positioned the body on the right of the screen and put in the key frame. then I moved the scrubber to the end, and moved my character to the left. It added a key frame.


This is my character animation. I learned about scanning and fixing drawings  from photo shop, working with timing, and copying key frames. My biggest issue was getting my characters legs to keep from poking out on the sides as they circled. If I could change anything, it would be the cycle of the legs. I think they go a little too high. I am pretty proud of my animation.


This is my updated walk cycle. I added a background, and made her less tilted. I enjoyed using different brushes to make a new world, never seen before.

Friday, September 5, 2014

Worm Cycle


This is my inch worm. In this project we had to animate a worm moving across the screen. We used the puppet tool to get the worm to change its shape and bend, then put that animation into a new one, where we had it inch across the screen. We used photoshop to make the grass and the worm.

Tuesday, August 26, 2014

Bounce animation


This is the first animation I did for Animation 1 class. We used photoshop to make a simple ball, and bounce it. First, I put simple key frames in on photoshop to make the ball bounce, then brought it into After Effects. There, I made it squash and stretch, which is when it squashes a tiny bit when landing and stretches a bit when going back into the air. I also made the movements more fluid. I learned and applied laws of physics to this project. I don’t think there is anything I would really change next time, as it was a starter project.