Showing posts with label after effects. Show all posts

Thursday, November 6, 2014

Animation Story


This is my original character design. I used basic designs, because I wanted to go more in depth with them once I pulled them up to the computer. I endued up using the same shirt for everyone, because the other two were weird looking.


This is my photoshop character design. I had a lot of fun doing this. Honestly I spent the majority of my time on it. I pulled some designs from my sketch books for their shirts. One problem I ran into was when I tried to save the file at the end of an hour, and photoshop ran into an error of some kind. All I had to do was rename the file to fix it.  Following this photo is my guitar and drum designs. I hand drew the drums, but for the guitar I used a photo to draw it. The main problem with the guitar was formatting the strings & such to look realistic. I think I did pretty well.


This is my finished animation. The hardest part about this was making it look like they were practicing. If I go back through I will defiantly add sound, and fix up walk cycles. I had trouble with they cycles at first, because pins kept going places I didn't want.


Thursday, October 23, 2014

Spheres


 This is my Illustrator ball. I made a circle without a fill or stroke, then added a gradient while the ball was selected. For the gradient I used white, a light grey, a red, and a darker red. The shadow is a gradient of black, grey, white, and transparent. The sky is blue and transparent, and the grass is just a solid green.
This is my Photoshop sphere. I made it more pink than red. The ball has two layers, the main color and the shadow. I pretty much did the same thing I did with the Illustrator ball.
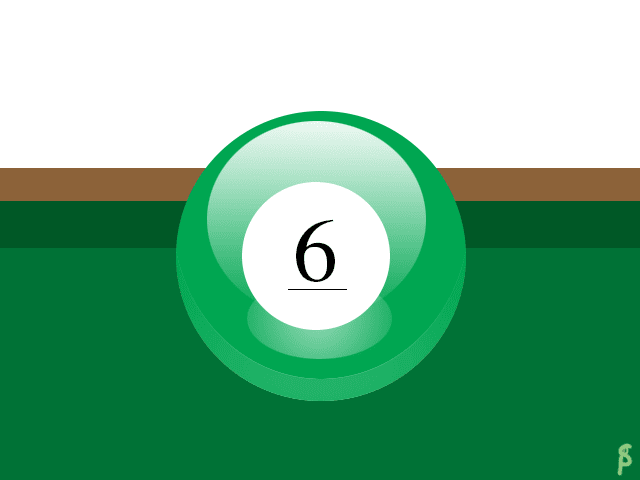


This is my PS tutorial ball. I did a Billiard ball. One part I had trouble with the shine just below the number. I solved it by, instead of feathering, making a gradient white circle and making it transparent. To make it my own, I made the ball green, with the classic 6 instead of the black 8 in the tutorial. Tutorial link.
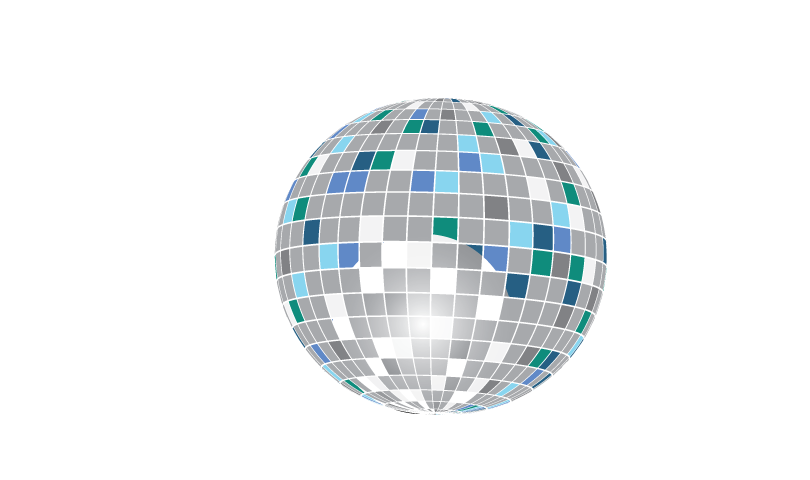
This is my AI tutorial ball. It is a disco ball. I didn't really have any troubles with it. I used a few different colors of blues for the coloring, and a gradient white & black screen circle to make that shine, though it did not turn out well. Tutorial Link.

Thursday, October 2, 2014

Personal logo


This is my logo sketch. I sort of stuck to one design with the D, S, and P. D is for my first name Danielle, S is for my last name Sleigh, and P is for my nick name, Pastel. I also just learned how to do that star. I really like it.

This is my art board. I tried a few more designs, including a heart with a lions made. I liked the star with the DSP and a lot of the sketches on the first board. I still went for the dap.


This is my final choice for my logo. It is the D and the P inside the S. The font is simple, and fits together, like my personality. The color is pastel pink, a somewhat elegant color. I really like it because its cute.

Wednesday, October 1, 2014

Multi-plane

This is my multi-plane animation. I learned how to move the layers apropriatly to different distances. I think that the back layers move somewhat fast, and that is something I will fix if I ever get time. I enjoyed this project a lot.

Friday, September 12, 2014

Character Walk

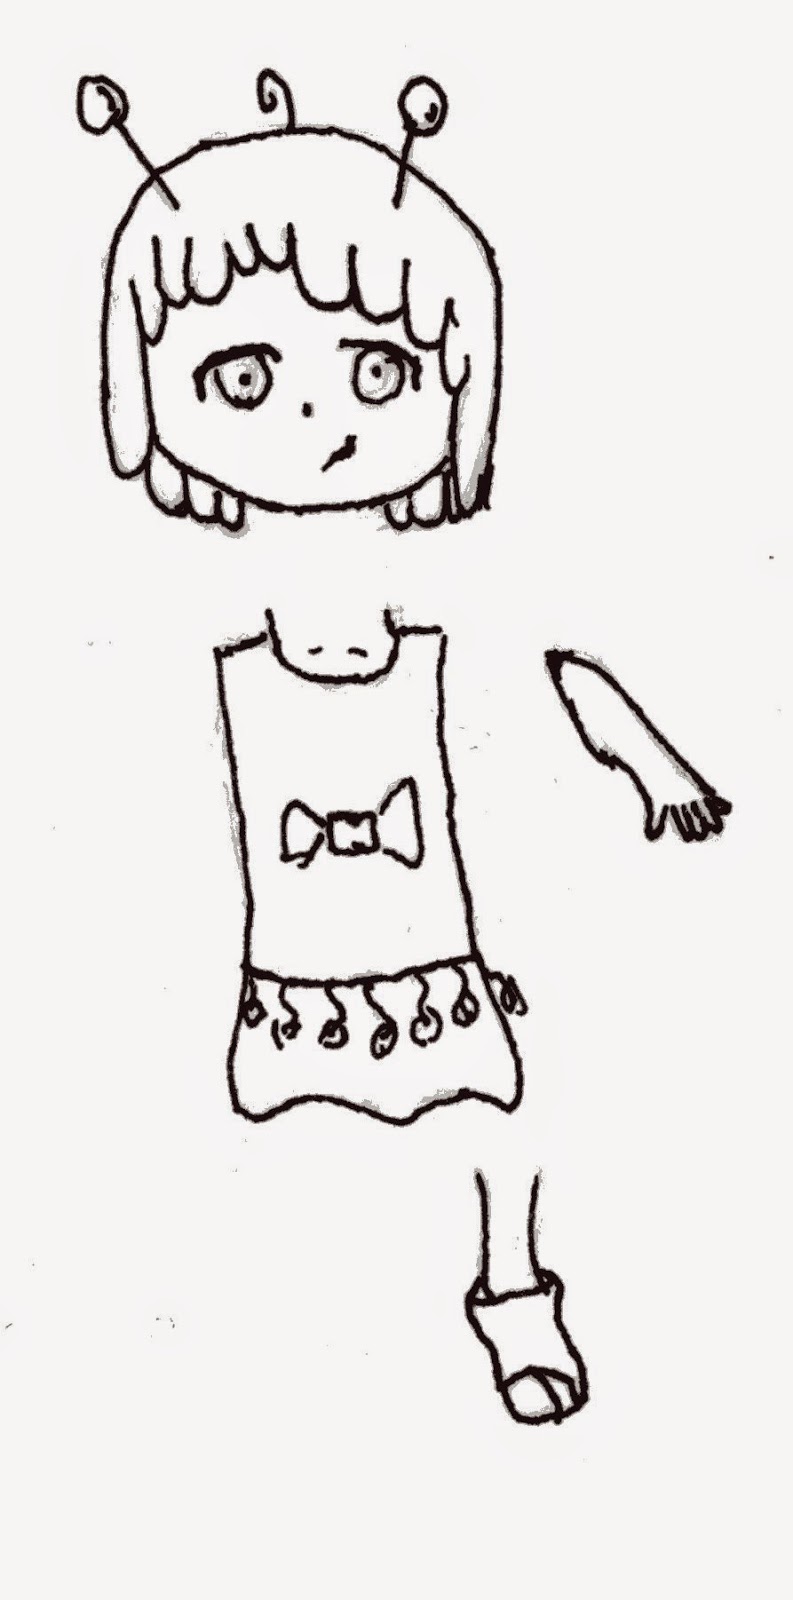
This is the character I used for my character animation. A lot of editing was done to her in photo shop. She is an alien version of myself. I designed her to be a simple character, that doesn't stand out too much. 
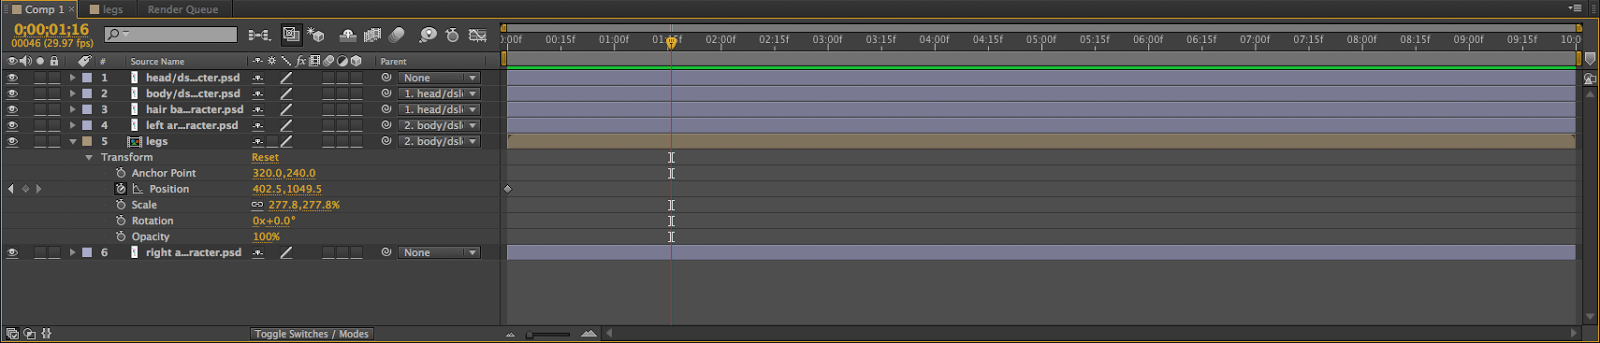
Here is my animation time line. My main issue was keeping the legs from popping out of her body, i.e; staying under the skirt. Then I had to put that animation in the new one, and connect her legs and body. I positioned the body on the right of the screen and put in the key frame. then I moved the scrubber to the end, and moved my character to the left. It added a key frame.


This is my character animation. I learned about scanning and fixing drawings  from photo shop, working with timing, and copying key frames. My biggest issue was getting my characters legs to keep from poking out on the sides as they circled. If I could change anything, it would be the cycle of the legs. I think they go a little too high. I am pretty proud of my animation.


This is my updated walk cycle. I added a background, and made her less tilted. I enjoyed using different brushes to make a new world, never seen before.

Friday, September 5, 2014

Worm Cycle


This is my inch worm. In this project we had to animate a worm moving across the screen. We used the puppet tool to get the worm to change its shape and bend, then put that animation into a new one, where we had it inch across the screen. We used photoshop to make the grass and the worm.

Tuesday, August 26, 2014

Bounce animation


This is the first animation I did for Animation 1 class. We used photoshop to make a simple ball, and bounce it. First, I put simple key frames in on photoshop to make the ball bounce, then brought it into After Effects. There, I made it squash and stretch, which is when it squashes a tiny bit when landing and stretches a bit when going back into the air. I also made the movements more fluid. I learned and applied laws of physics to this project. I don’t think there is anything I would really change next time, as it was a starter project.